Thinking about listing your Chevy Chase home and wondering how to make every photo count? You are not alone. In 40502, buyers often fall in love with a home online before they ever schedule a showing, which means presentation matters. This guide gives you a clear, room-by-room staging plan and a simple photography checklist so your home looks its best and attracts strong attention. Let’s dive in.
Why staging and photos matter
Staging helps buyers see how each room functions and imagine their lives there. Professional, well-lit photos highlight space, flow, and features that might be easy to miss in person. Industry groups note that staging can support faster sales by improving buyer perception, and high-quality photos are the first impression most buyers have online.
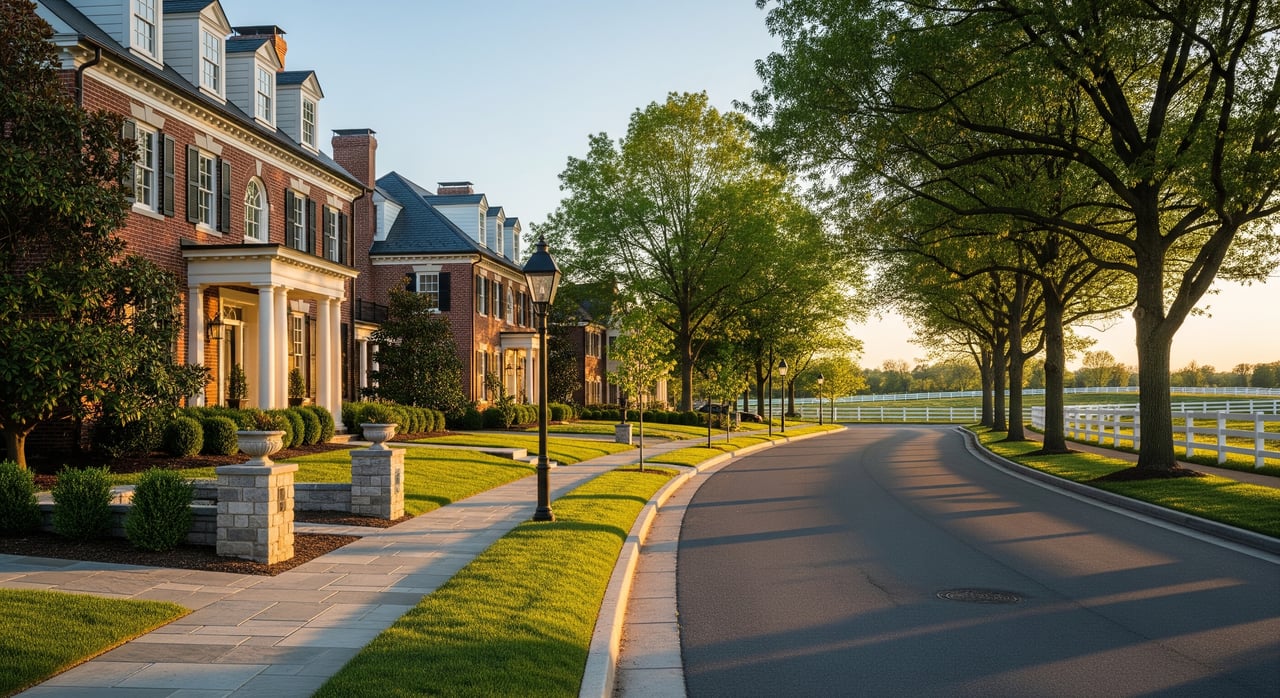
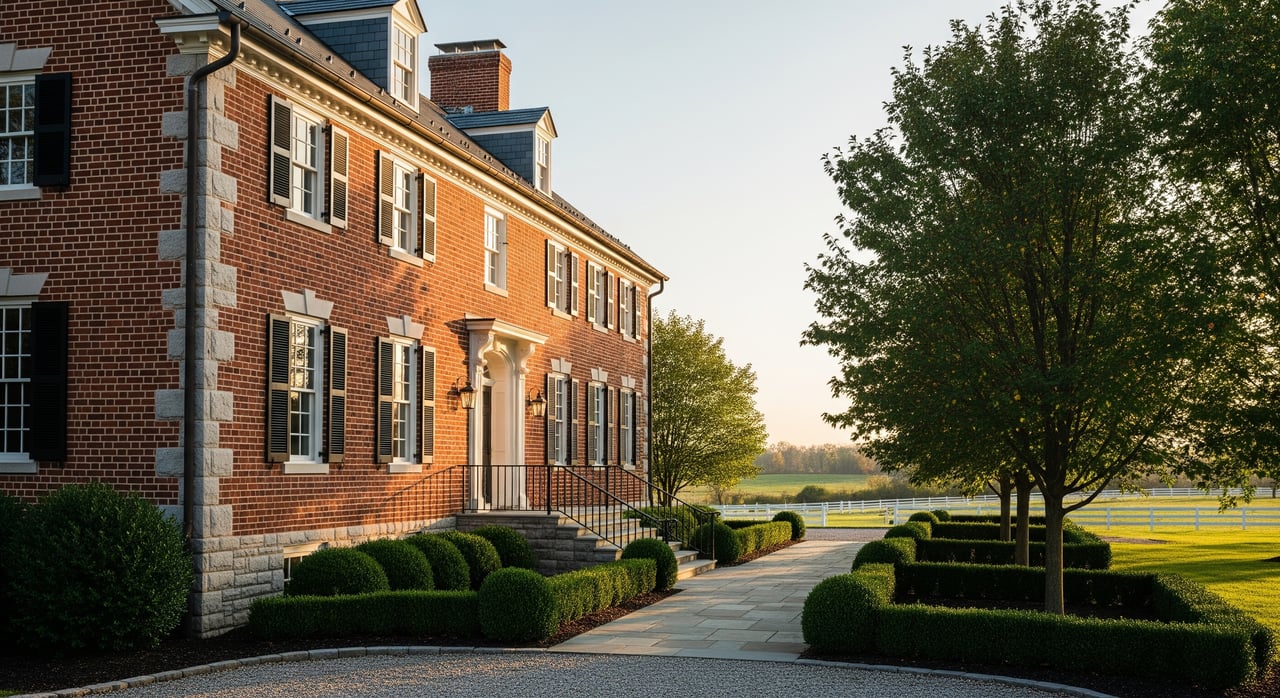
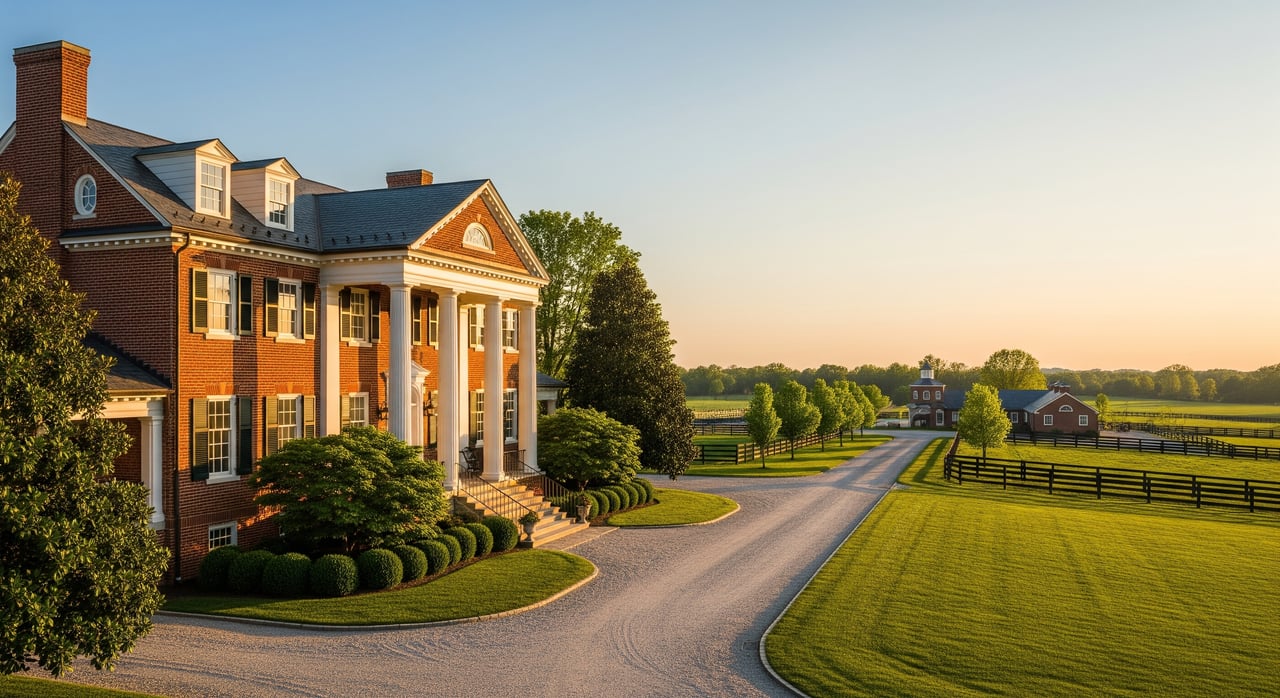
Chevy Chase homes sit on tree-lined streets with sidewalks and mature landscaping. That means curb appeal and streetscape context are key. In 40502, a clean, bright exterior photo and a warm, welcoming interior can set your listing apart.
Your pre-photo prep checklist
Whole-house essentials
- Deep clean floors, baseboards, windows, light fixtures, vents, and grout.
- Declutter surfaces and floors. Remove excess furniture to open walking paths.
- Depersonalize by removing family photos, keepsakes, and polarizing decor.
- Complete minor repairs like tightening knobs, fixing leaky taps, and patching paint.
- Refresh with neutral, warm wall colors where needed. Touch up scuffs.
- Replace burned bulbs and match color temperatures for consistent light.
- Clean or refinish floors if needed. Professionally clean carpets.
- Neutralize odors. Avoid strong fragrances. Aim for fresh and clean.
- Set a comfortable thermostat for showings and the photo shoot.
- Secure valuables and medications. If your home was built before 1978, ensure you are ready to disclose known lead-based paint hazards per EPA and HUD rules.
Curb appeal priorities
- Mow and edge the lawn. Trim hedges and low branches that block the facade.
- Power wash siding, porch, steps, and walkways if needed.
- Clean gutters and remove cobwebs around the entry and soffits.
- Freshen the front door with paint or hardware polish if worn.
- Add simple potted plants or seasonal accents. Do not overcrowd the entry.
- Remove vehicles from the driveway for photos.
- Address visible fence damage, roof stains, broken steps, or loose rails.
Room-by-room staging
Entry and foyer
- Clear floor space for easy flow. Store shoes, coats, and bags.
- Add a slim console or bench with minimal decor.
- Confirm overhead and accent lighting is bright and working.
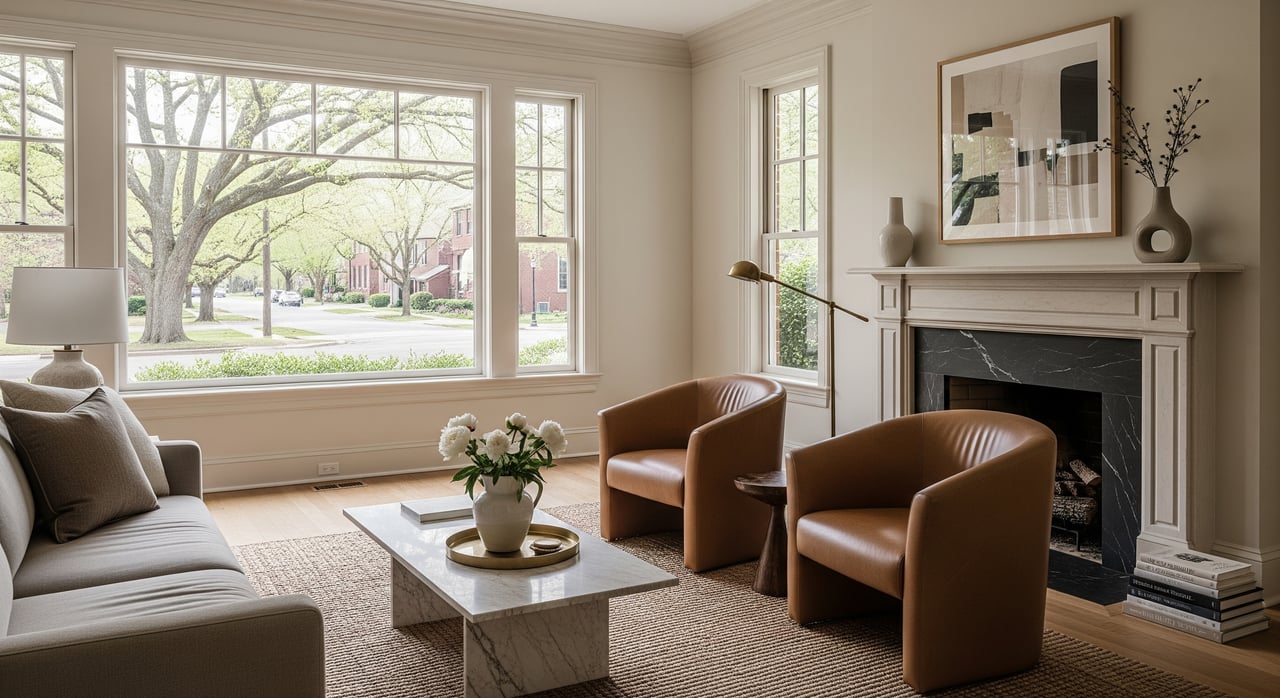
Living and family rooms
- Arrange seating for conversation and sightlines. Remove extra pieces.
- Add 1–2 accent pillows and a neutral throw for texture.
- Hide cords, remotes, toys, and pet items.
Dining room
- Set a simple place setting or a single centerpiece. Keep it minimal.
- Remove high chairs and children’s items for photos.
- Ensure the table and light fixture are centered and level.
Kitchen
- Clear counters except for one or two styled items like a fruit bowl or vase.
- Hide small appliances, drying racks, and cleaning products.
- Polish faucets, empty the sink, and align stools if you have an island.
Bedrooms
- Make the bed with coordinated, layered linens for the primary suite.
- Clear nightstands and limit decor to a lamp and one small item.
- In secondary bedrooms, show a clear purpose such as guest room or office.
Bathrooms
- Remove personal products and trash bins. Hide toothbrushes.
- Hang fresh towels and roll extras for a spa-like touch.
- Clean mirrors, grout, and glass. Add a small plant if space allows.
Home office
- Showcase a tidy, intentional workspace.
- Minimize visible cables, printers, and paper stacks.
Laundry and mudroom
- Clear counters and put away detergents.
- Stage with a small tray and neatly folded towels if space permits.
Basement, attic, and garage
- Declutter and organize to show usable storage and floor space.
- Good lighting helps convey ceiling height and potential uses.
Outdoor living
- Arrange patio seating and clean cushions.
- Tidy the grill and storage areas. Sweep leaves and debris.
- Consider soft lighting for evening ambience if twilight photos are planned.
Photo day checklist
Before the photographer arrives
- Confirm the shoot time to capture the best natural light.
- Do a final walkthrough to ensure the staging list is complete.
- Turn on every interior light and exterior porch or landscape lights.
- Open blinds and curtains. Clean windows to maximize daylight.
- Remove vehicles from the driveway and clear the front yard.
- Remove reflective trays or metallic items that cause glare.
- Polish mirrors and angle them to avoid reflections.
- Set the thermostat for comfort and ensure vents are not visually distracting.
- Straighten pillows, rugs, and drapes. Hide cords and small appliances.
Special notes for pets and privacy
- Remove pet bowls, beds, and litter boxes for photos and showings.
- Put away medications, mail, financial documents, and personal photos.
Standard shot list
- Exterior and streetscape: front elevation from multiple angles, driveway, porch, fencing, and landscaping. Include backyard and side yard.
- Entry: door, foyer, and staircase if notable.
- Main living spaces: living room, family room, den, with 2–3 angles.
- Kitchen: wide shots and close-ups of features like an island, counters, and appliances.
- Dining room: table setting or simple centerpiece.
- Primary suite: bedroom, bath, and closet.
- Secondary bedrooms: one clear photo each, showing intended use.
- Bathrooms: overall shot and any special tile, shower, or tub details.
- Flex rooms: office, bonus, sunroom, or formal rooms.
- Laundry and mudroom.
- Basement or finished attic: show ceiling height and usable space.
- Garage: exterior and interior storage.
- Outdoor living: deck, patio, play areas, mature trees.
- Unique features: fireplaces, built-ins, hardwoods, architectural details.
Technical and style tips
- Hire a real estate photographer. Smartphones rarely match pro results for composition and balanced light.
- Favor horizontal images for MLS, with a few verticals for social posts.
- Ask for HDR or multi-exposure blends to balance bright windows with interiors.
- Keep white balance consistent across rooms for a cohesive look.
- Aim for authenticity. Avoid ultra-wide lenses that distort room size.
- Request a mix of full-room shots and a few detail images.
- Consider a twilight exterior for strong curb appeal or higher-end listings.
- Ask for high-resolution files and MLS-optimized versions.
- Confirm local MLS guidelines on editing, watermarks, and any virtual staging.
Virtual tours and video
- 3D tours and short walk-through videos are helpful, especially for out-of-area buyers.
- Virtual staging can work well for vacant homes. Disclose digital staging as required by MLS rules.
- A 60–90 second video can boost engagement on listing pages and social media.
Seasonal and local factors in 40502
Climate and timing
- Spring and summer: focus on fresh mulch, edged lawns, trimmed shrubs, and seasonal flowers.
- Fall: clear leaves, clean gutters, and keep walkways swept.
- Winter: highlight warm interior lighting, tidy entry mats, and safe, clear steps.
Older homes and disclosures
- Many homes in established neighborhoods were built before 1978. If that applies to you, be prepared to disclose known lead-based paint hazards in line with EPA and HUD requirements.
MLS rules to confirm
- The Lexington and Fayette County MLS may have specific rules on image size, watermarks, branding, and virtual staging disclosures. Confirm the latest requirements with your agent and photographer before the shoot.
Hiring pros you can trust
Who to hire
- Professional home stager for a consult, partial staging, or full staging.
- Real estate photographer with an MLS-ready portfolio.
- Cleaning and landscaping crews for fast, high-impact prep.
- Contractors for small repairs and paint touch-ups.
Questions to ask vendors
- Stagers: Do you offer occupied and vacant packages? What is included and for how long? Can you share before-and-after photos and references?
- Photographers: Do you have sample galleries for similar homes? What is included such as HDR, twilight shots, drone, floor plans, or 3D tours? What file types and delivery timelines do you provide?
- Policies and credentials: Do you carry liability insurance? Are you familiar with local MLS photo rules? What are the policies on rescheduling, extra shots, retouching, and usage rights?
Costs and timelines
- Costs depend on property size, scope, and whether the home is occupied or vacant. Vacant homes typically need more staging resources.
- Photography pricing varies by package, especially if you add twilight, drone, floor plans, or 3D tours.
- Light staging and cleaning can be done in a few days. Full staging for a vacant home may take one to two weeks to plan, deliver, and set.
Quality control before listing
- Review all photos for missed clutter, reflections, or distracting items.
- Confirm the photo order and choose the strongest curb appeal shot as the lead image.
- Ensure photos accurately represent the home. Avoid misleading angles and disclose any virtual staging.
A polished presentation can make all the difference for your Chevy Chase listing. With a clear plan, the right pros, and attention to detail, you can showcase space, light, and lifestyle that resonate with 40502 buyers. If you want a hands-on partner to coordinate staging, photography, and a full-market launch, connect with Thaddeus Blevins for white-glove guidance and a modern, data-informed marketing plan.
FAQs
Do I need to stage if my home is already furnished?
- Many occupied homes benefit from a staging consult to fine-tune layout, reduce clutter, and add selective pieces that improve flow and photos.
Is professional photography really necessary for my listing?
- Yes, because online photos drive first impressions and showing decisions, professional images typically outperform smartphone photos in exposure and composition.
Can I use virtual staging instead of physical staging?
- Virtual staging can work for vacant homes and should be disclosed per MLS rules, but it does not replace the in-person feel of physical staging at showings.
How long will staging and photo prep take?
- Timelines vary by condition. Light staging and cleaning may take a few days, while full vacant-home staging can take one to two weeks to schedule and install.
What should I remove before photos and showings?
- Personal photos, medications, valuables, pet items, excess clutter, trash bins, and all vehicles from the driveway.
Are there any legal or health considerations I should know?
- If your home was built before 1978, disclose known lead-based paint hazards as required by EPA and HUD. When in doubt, consult professionals for safe handling.